Approve request
This tutorial provides a step-by-step guide on how approve a leave request to ensures that everyone is on the same page and that work continues efficiently, even when someone is away.
Prerequisites
- You must be a designated approver in the system and have a valid login to the HUB platform.
How often we do this?
When someone needs your leave approval
Step-by-Step Guide
There are 3 ways to approve a leave request, as follows:
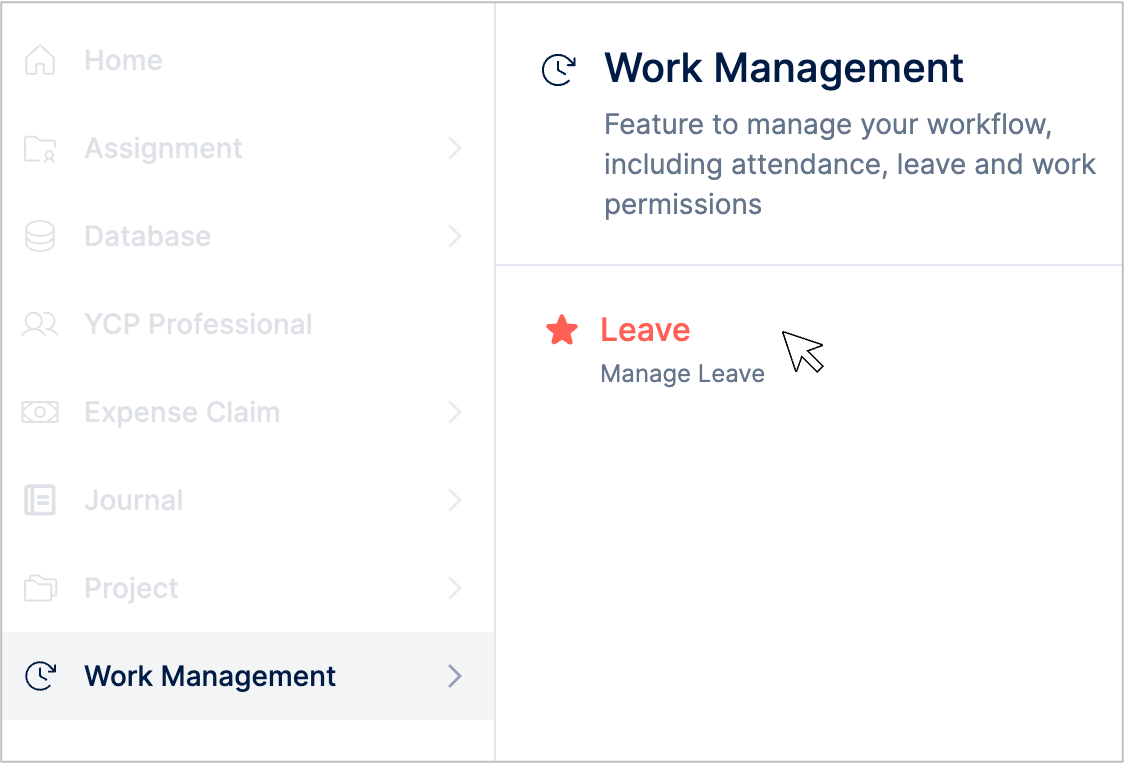
- Work Management
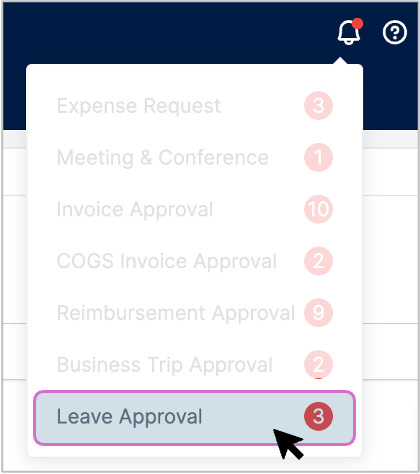
- HUB notification
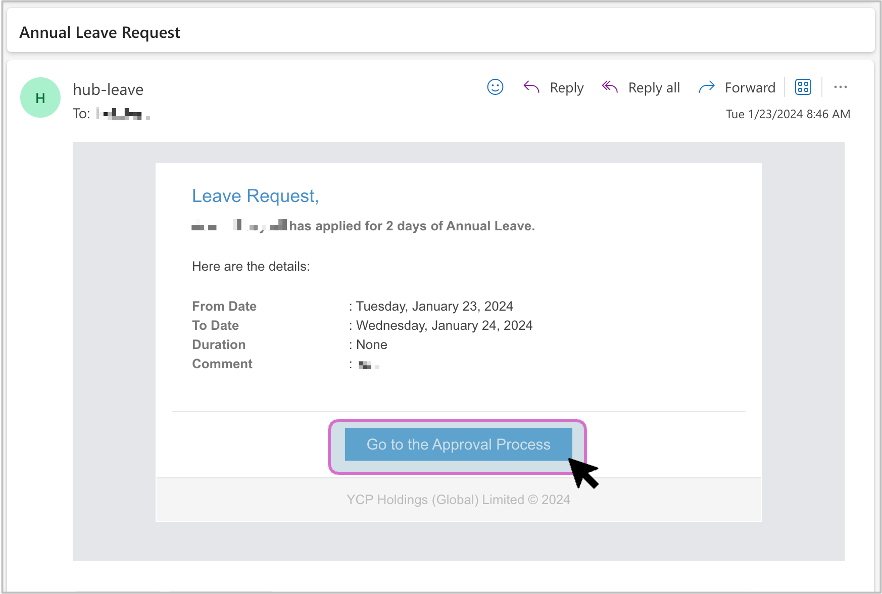
- Email notification
-
Go to Work Management > Leave
-
Navigate to the Admin tab

-
Click Approve to approve the leave request, or
-
Click Reject to reject the request. You will need to fill the reason why you reject the leave request.
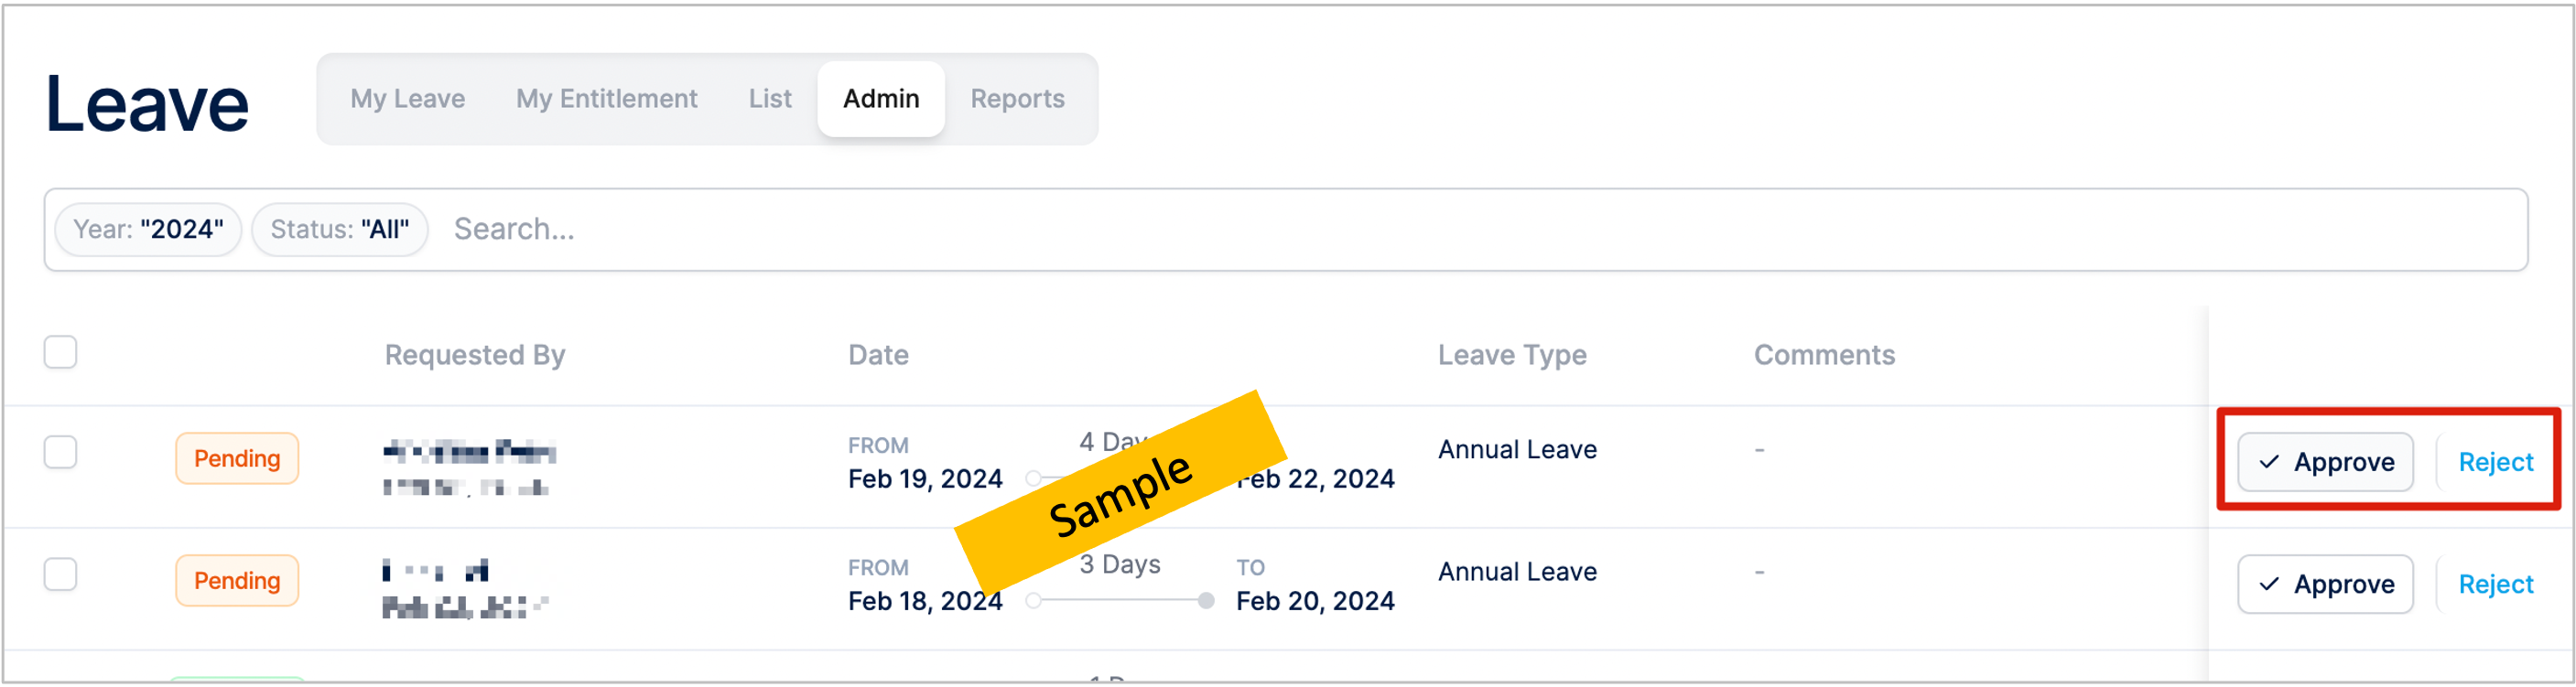
This menu will dissapear if there are no leaves to approve.
-
Click the Notification bell icon on the top right of the HUB page
-
Click on the Leave Approval menu. This menu will redirect you to the Admin tab of the leave module.
-
Click Approve to approve the leave request, or
-
Click Reject to reject the request. You will need to fill the reason why you reject the leave request.
-
When someone need your leave approval, you will receive the notification email from
hub-leave@ycp.com -
Click the Go to the Approval Process. This link will redirect you to the Admin tab of the leave module.
-
Click Approve to approve the leave request, or
-
Click Reject to reject the request. You will need to fill the reason why you reject the leave request.
Next step
Sometimes the leave applicant want to cancel their leave application. As the approver, you should be able to cancel the leave request under two conditions as explained in the FAQ section.